Nine Peonies

Peonies on fan.jpg

Japanese textile paint on synthetic fabric fan

Blog Post 28

I leveled up the look of my black fan by painting 9 peonies on it. I’ll make another as gift for a friend.

Some painting tips: If the fabric weave of the fan is loose, use a ground for a good take of the textile paints. You can use ordinary synthetic brushes because textile paint can damage your sable brushes. Save your expensive brushes for the fragile Chinese paintings you will do on rice paper. And, after painting, clean your brushes at once and hang them for air drying.

Since I painted on a black fabric, I can’t use Chinese ink to sign my name. Instead, I’ll use  gold or silver textile paint.

Keep on painting and be sure to finish what you started. Don’t just quit once you make a mistake or a bad brush stroke. Instead, think of a way to repair or save your painting. Remember: ‘Done’ is better than ‘perfect’.  And, you always learn so much more from any mistake if you try to correct it.

By the way, here’s the difference that gold paint made:

With gold.jpg

Signature


Purple Chrysanthemums

Chrysanthemums on fan

Japanese textile paint on synthetic fabric fan

Blog Post 27

Don’t just sign your name on your fans–paint on them, too. Here are my purple chrysanthemums on my orange fan.

Some painting tips: If the synthetic fabric fan is tightly woven, you can paint directly on it. If not, use a ground and let it dry for at least a day before painting. To make the focus of your painting pop out, use the complementary color of its background. So here, I used purple for the color of chrysanthemums, the complementary color of orange.

To balance my off-center composition, I signed my name on the opposite side, at the same height, and with a small repeat of my subject.

By the way, here’s how my gold-glazed ‘mums look:

Wth gold mums.jpg

Signature


‘Mum Wrapper

Mum wrapper 1.jpg

39 cm x 47 cm; Taiwan watercolors on unsized xuan paper

Blog Post 26

Here’s another accidental gift wrapper I made because of a careless brush stroke. So, I lifted the color of my unwanted brush stroke, let it dry, and  painted over it again, slowly and carefully. Then, I repeated my brush strokes carefully many times over a big piece of xuan paper,  giving me the needed practice to paint Chrysanthemum flowers on my paper fan.

Ok, practice. But first, make an effort to practice the correct way.

Signature


Leafy Wrapper


39 cm x 47 cm; Taiwan watercolors on xuan paper

Gift Wrapper

Blog Post 25

I don’t just wash or wipe clean my palettes. I  use my  left-over watercolor mixes by painting rice paper gift wrappers. The one shown here have leaves from plants growing in my garden—-Podocarpus (Buddhist pine), bamboo, common fern, Borassus (palmira), Ficus pumila (creeping fig), Citrofortunella microcarpa (calamansi), Bucida molinetil (bushida), and Pinus mugo (creeping pine). Then, for tying up the gift box, I use dark abaca twine.

Keep painting–they make ever-ready, lovely gifts for all occasions!

Signature


Chimonobambusa mamorea

12.5 cm x 18 cm; 300-lb watercolor paper; Taiwan watercolorsRed Bamboo

Blog Post 24

Chimonobambusa mamorea is the Red Chinese Bamboo. My Chinese brush painting teacher once told me that paintings of red bamboos are given as gifts for good luck, especially during special occasions.

Some painting tips: For the bamboo stalks, I mixed carmine and vermillion. For the two-toned bamboo leaves, I loaded a small Chinese brush with yellow-green; then, I dipped its tip in blue-green before painting.

Red Bamboo colors.jpg

Here’s another red bamboo painting I did from my left-over carmine & vermillion mixture. Notice that this bamboo has an upward leaf arrangement. The red bamboo leaves and sprout just exist in my mind–not in nature.

Sprouting Red Bamvoo

Sprouting Red Bamboo; 15 cm x 10 cm; 300-lb watercolor paper; Taiwan watercolor

Good luck!

Signature

The Red Sun

The Red Sun

15 cm x 10 cm; watercolor on 300 lb watercolor paper

Blog Post 23

Here’s my take on the classic sunset seascape: The Red Sun sitting  on the horizon. It’s the first of the three stages of twilight. So next to this painting, I’ll paint the second stage of twilight: the red sun gone halfway down the horizon, but still spreading its radiance to the sky, the clouds, and the sea Then, I’ll paint the third stage stage of twilight: a radiant  point on the horizon where the sun has gone down, just before dusk sets in. Dusk is the darkest sky, even darker than nighttime. I’ll skip painting a dusk sky, knowing that dawn break will soon brighten up the sky once more.

Signature

Noche Buena

Noche Buena

46 cm x 27 cm; watercolour on rice paper

Blog Post 22

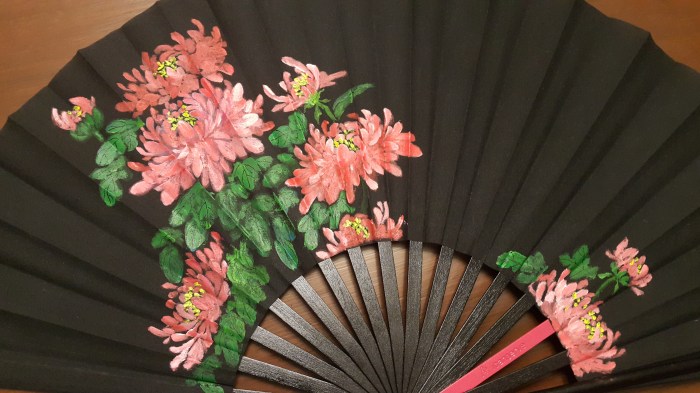
These are Poinsettias, one of my favorite flowers. They are also known as Christmas Flowers. It’s not easy to raise them because they’re so friendly to aphids and ants.  That’s why I just buy a big, flowering pot every Christmas season—my Christmas decor which lasts until the Lenten season (March or April).

Christmas Poinsettias.jpg Lenten Poinsettias.jpg

                               Christmas 2016                                          Lent 2017

I entitled my painting  Noche Buena because my Mexican friend told me that in Mexico, Poinsettia is known as  Noche Buena (Good Night). Here in the Philippines, Noche Buena means a midnight feast when December 24 turns to December 25—Christmas!

merry-christmasPoinsettias-2.jpg

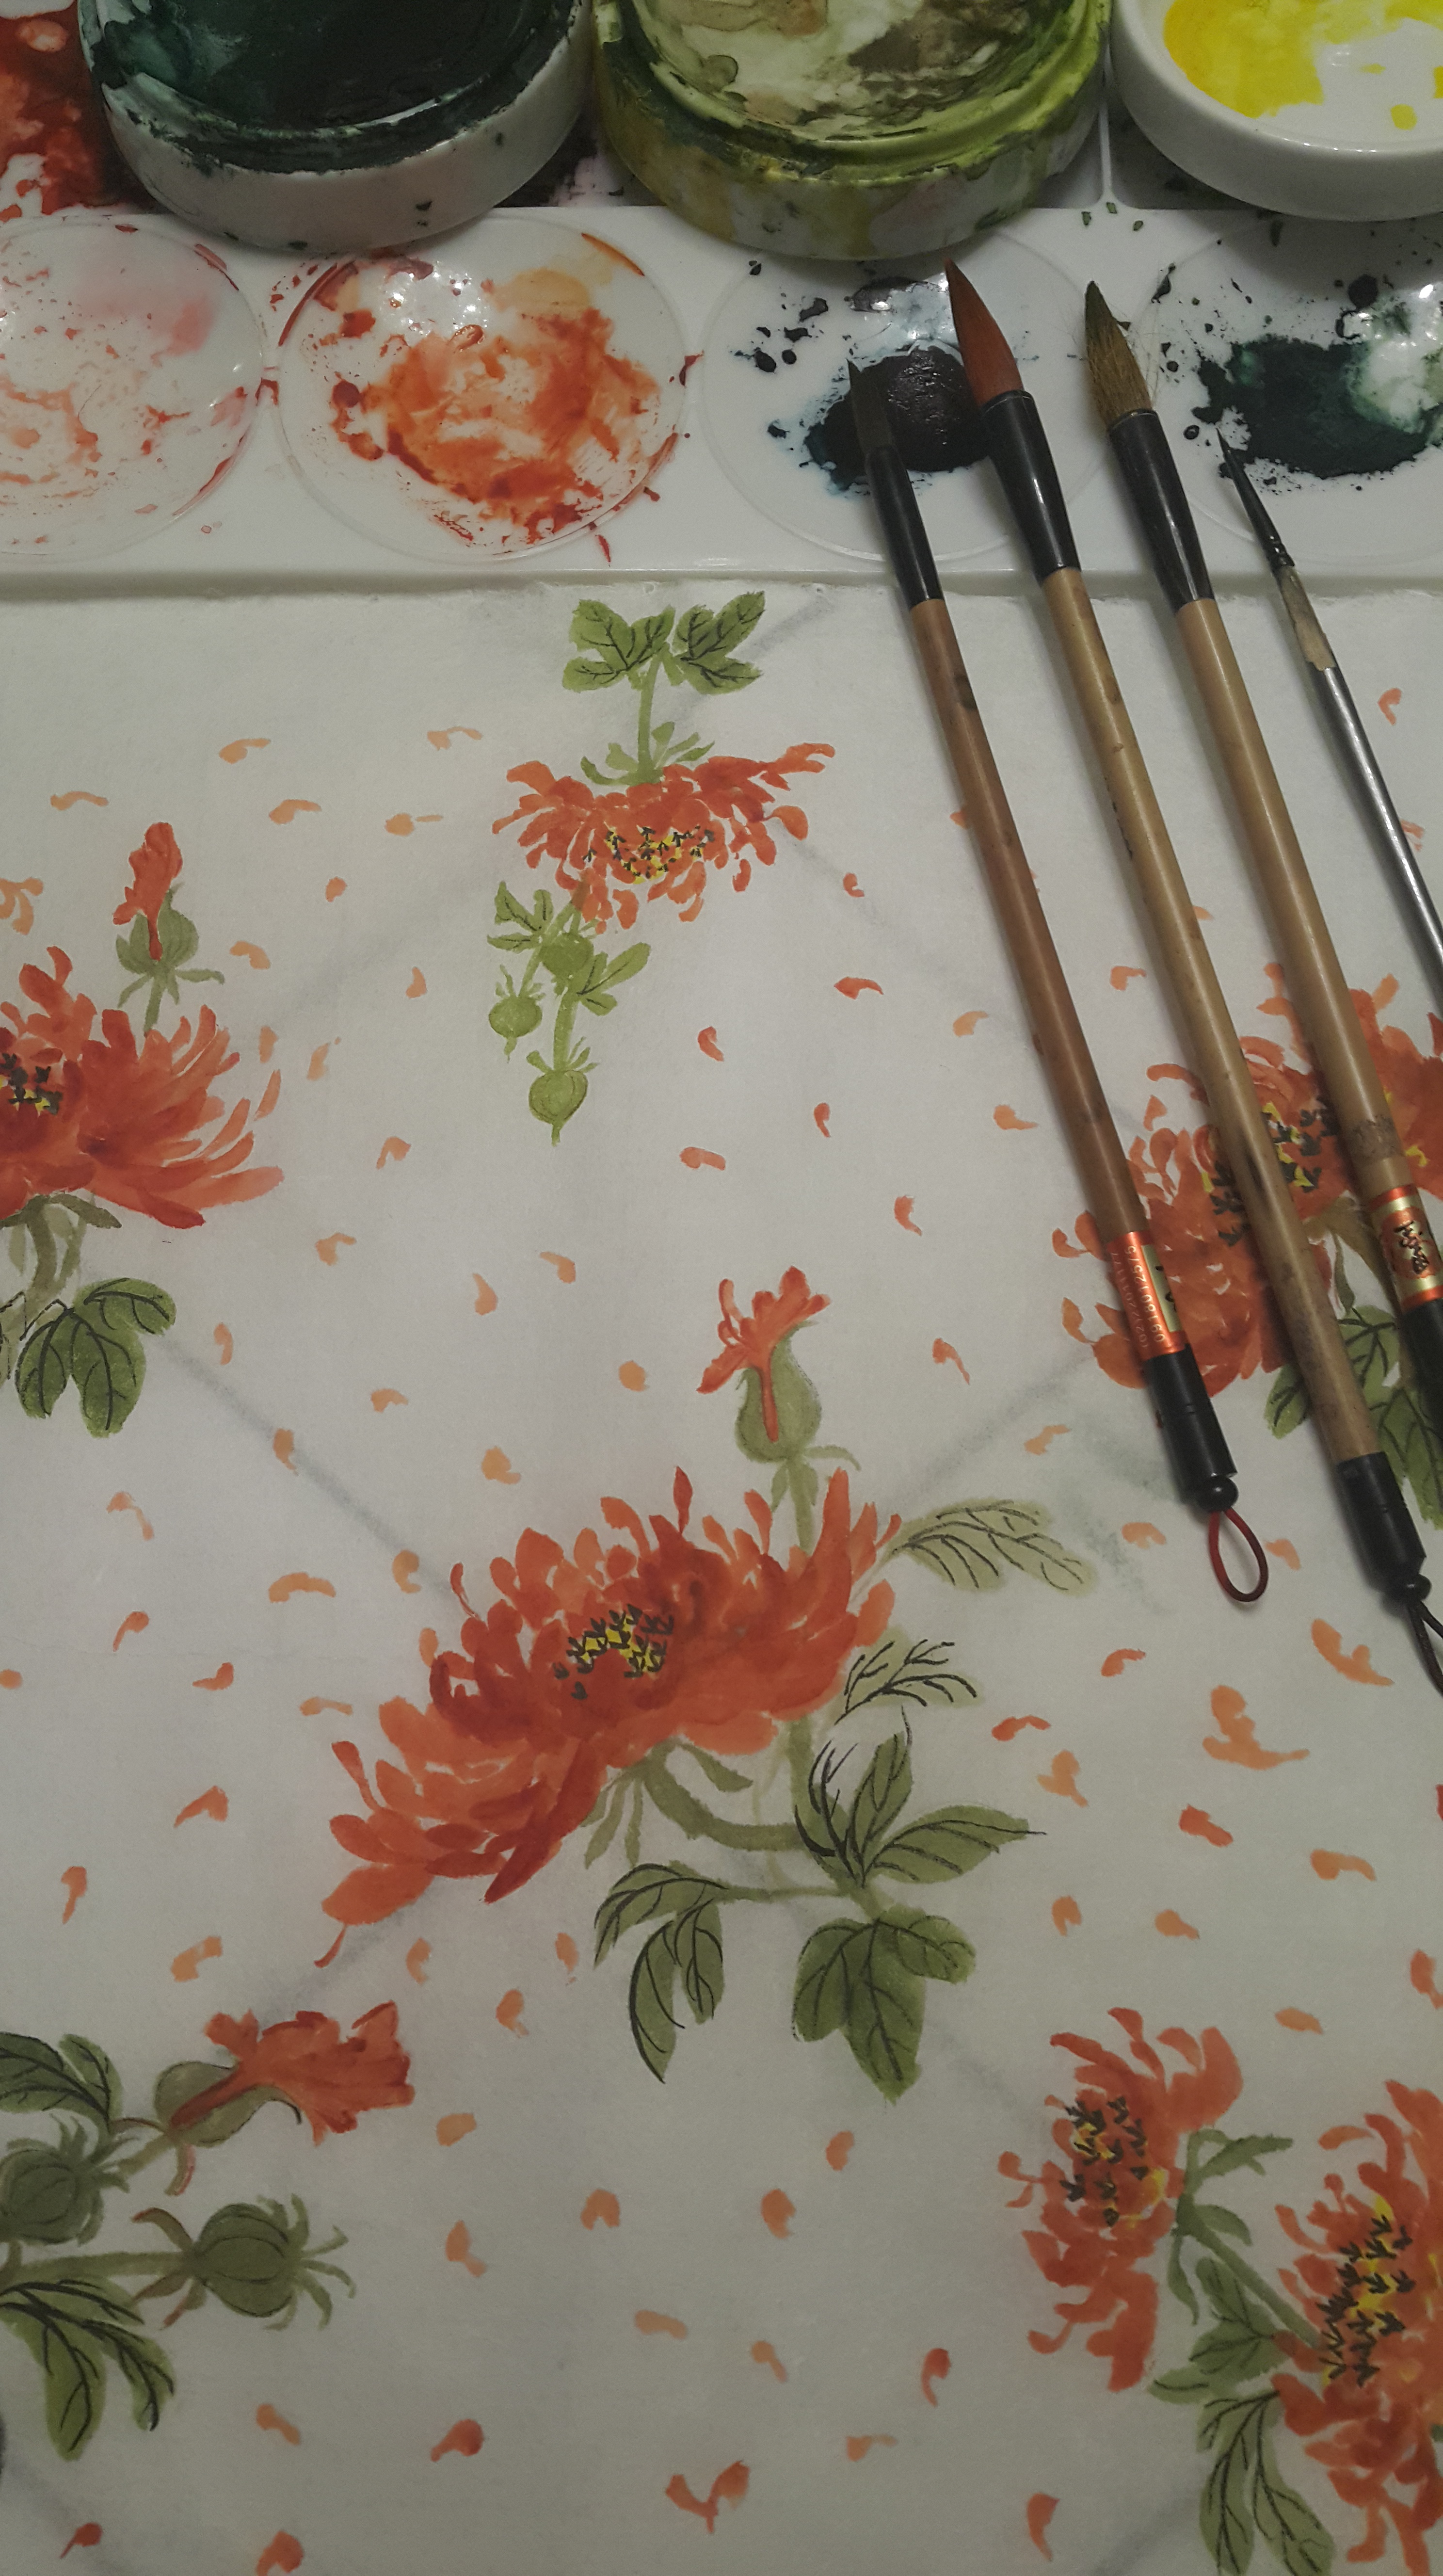
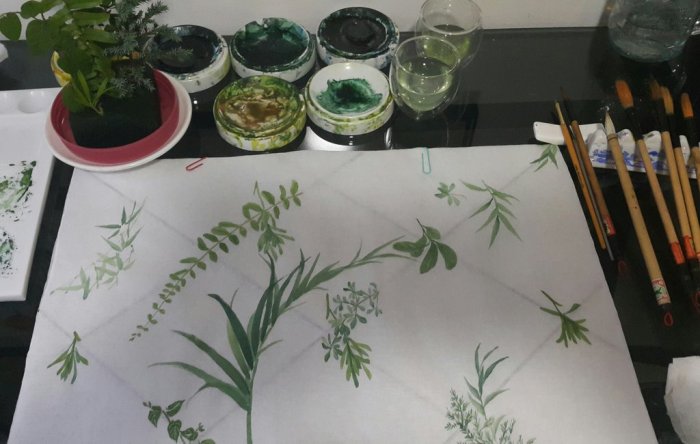
Use thick, white, Taiwan rice paper. Here’s the sequence of painting the flower: center; 1st layer of petals (innermost; vermillion or yellowish); 2nd layer of petals; 3rd layer of petals; stems; young and old leaves. You can have add ons:  Chinese weeds; butterflies, or bees.

Here are more tips on how I painted Noche Buena:

-On painting the center (actually, a cluster of very small flowers):

  • With a wet brush, load a small brush with yellow green (mix more green + yellow), then dip the tip with rouge. When still damp, dot the center with a rouge dot.
  • Make a 5-10 cluster of small flowers.

-On painting petals (actually, the colored bracts):

  • For the 1st layer: Don’t mix vermillion and carmine to paint 2-toned petals. Load a wet, large, white brush with vermillion, and then dip its tip with dark carmine. Make a set of small, 7-8 petals. There should be no gaps between petals. N.B.: Each petal is made with 2 strokes—from inside to outside. Press the brush on paper to make wide petals. Tips of petals are just added. When still damp, add rouge veins, using a fine, hard brush.
  • For the 2nd layer: This should not be a complete layer. Do not show all the petals to have an angle of the top-side view of the flower. Start painting the petal thinly, beginning halfway from the base of the 1st layer petals.
  • For the 3rd layer: Just like the 2nd layer of petals, this is not a complete layer. Petals here are long, and are painted only on the  foreground. Make them fall gracefully at the center, foreground.
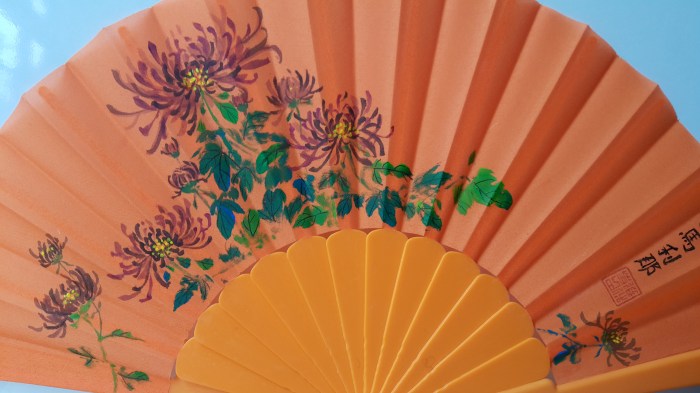
  • Use medium white brush and brown/beige paper to paint peach petals (load with poster white + vermillion tip + vermillion veins) or white petals (load with poster white + avocado green tip + light green veins) poinsettias. Add thin veins when petals are still damp. N. B.: Each petal should be done with several strokes to make the veins stand out.

-On painting leaves:

  • Load a large, brown, stiff bamboo brush  to paint large, dark green, mature leaves. Mix more green than rattan yellow. Wet the brush, load with (rattan) yellow + green, then dip its tip with flower blue or dark ink. Start painting from the leaf base. Be sure to make stops (presses) to make leaf notches, as the leaves look like large holly leaves. When still damp, load a thin, stiff brush with dark ink and paint the leaf veins.
  • Use a medium or small brown  brush to paint smaller, young leaves in pale green leaves. Load the brush with  (rattan) yellow + green  (avocado green mix), then dip its tip in rouge.
  • N.B.: Paint leaves in various orientations, and with some upturned leaves (i. e., upturned leaf tips or sides).

-On paintings stems:

  • Paint a young, soft stem to hold each flower. Load a wet, medium brown brush with  yellow-green (more green than rattan yellow), and then dip its tip  in rouge.
  • Attach young stems to old, woody stems. Load a wet, large, stiff brush with umber and then dip its tip in dark ink. Make the old stems appear rough, knotty, and mossy. Use dark ink to paint clustered mosses.

-On painting add-ons:

  • Load a thin white brush with umber, and then dip its tip with light ink. Paint long, thin, Chinese grasses to fill in gaps among flowers, stems, leaves, but always aim for balance in your compostition.
  • Paint butterflies or bees with colors to complement the color of the Noche Buena; e. g.,  butterflies with yellow and vermillion-tipped wings.

Take photos of Poinsettias throughout its long blooming season,  lasting from the Christmas season  until the next year’s Lenten season. Have lots of photos to come up with beautiful Poinsettia paintings—cheerful Christmas flowers which won’t wilt, get eaten by aphids, or just die.
Signature